 O'day 192
Pages
O'day 192
Pages- Projects 2010
- Mast Prop & Motor Stand
- 2010/11 Work Journal
- Brightwork
- Cleaning
- Hull Repairs
- Tiller & Extension
- Painting
- Mast Work
- Miscelansous
Hull Repairs
 November 25, 2010
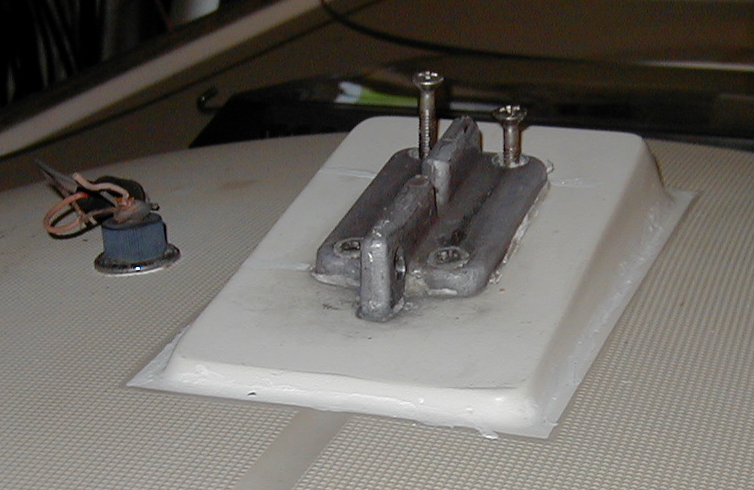
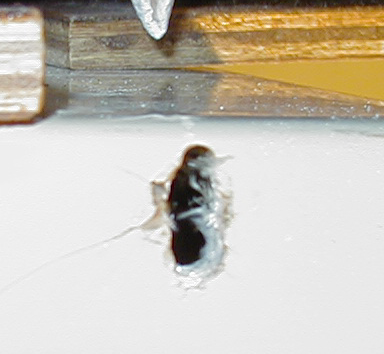
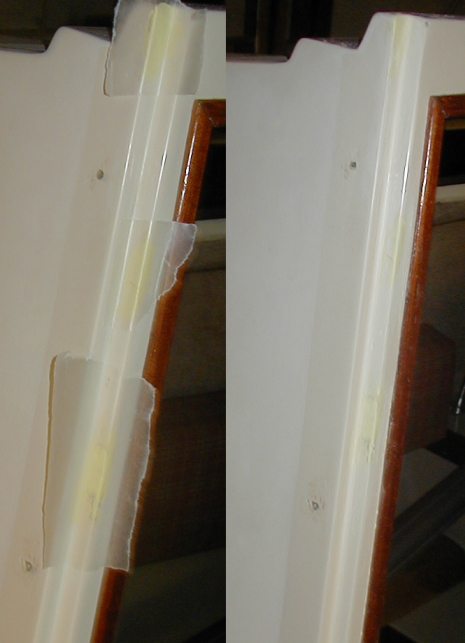
The mast pulpit needs to have some gelcoat cracks repaired and painting the pulpit area wouldn't hurt either. So I had Matthew help me remove the nuts off the pulpit screws and have backted the screws out. The aluminum pulpit is stuck on with silicone caulk so I have to cut throught that to get the pulpit off. You can also see here that the mast electrical connector needs some work.The other day I noticed that one of the screws for a trim piece in the cabin had pulled loose. On inspection, I find the the screw hole in the fiber glass has been ripped open, so it needs some repair so that it will hold a screw.
I decided to epoxy a small piece of wood to the back side of the hole and then fill the resulting cavity with epoxy.
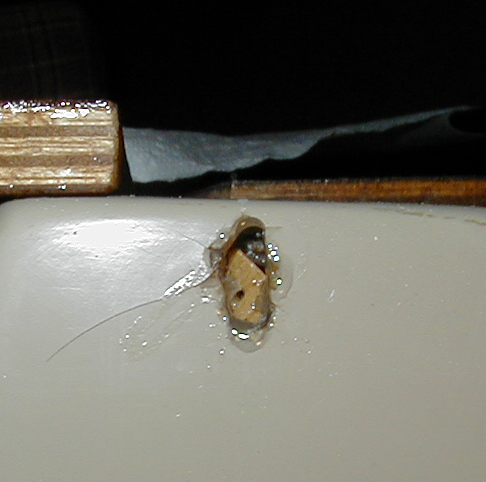
Getting the little wood chip through the hole and into the proper position turned out to be more a challenge than I had expected. I did get it epoxied in, but not as straight as I would have liked. Filling the cavity with epoxy then was a challenge because the epoxy wanted to run out the bottom. I was doing this when the temperature was mabey 50F so that helped the epoxy be a little more thick, but it still wanted to run, so I put a piece of wood on the front. That held everything in place. I think one more coat of epoxy over the wood and I'll be in business.
 |
 |
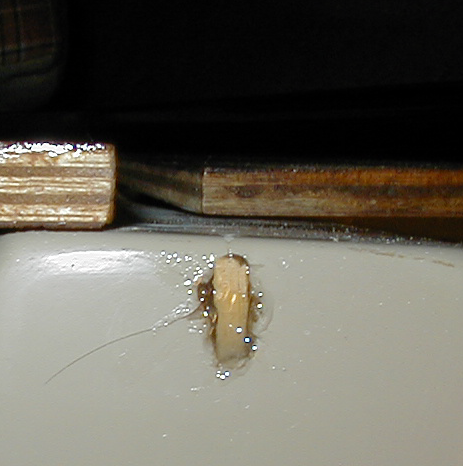 |
| The hole before any repairs | The small wood chip epoxied in place. | The cavity filled with epoxy and a wood chip. |
 November 29, 2010
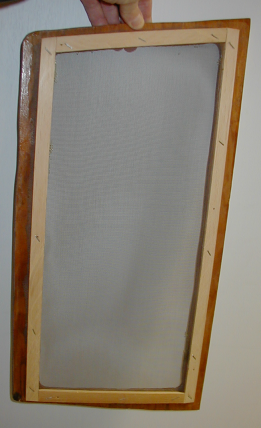
Added some backing strips to the companionway screens. These backing strips help to anchor the screen as well as stiffen the frames. I'm going to paint the frames white as the existing frames have stains and rust spots on them, and the strips I tacked on don't look like much either. No point is showing off all the blemishes with glossy varnish.
January 1, 2011
Today I got the cockpit drain hose out. It was a very difficult job because of its location. You have to go in through the port cockpit locker and reach around the back of the cockpit to get to it. Its all I could do to reach it. But I was able to take the hose clamps off with a nut runner and then cut the hose so the I could twist and work each end off the hose fittings.
I think I'll use a plastic hose as a replacement. There's really no reason to have a radiator hose, especially with an anti-compression wire in it, at least if you use the right sized hose so that it doesn't kink.
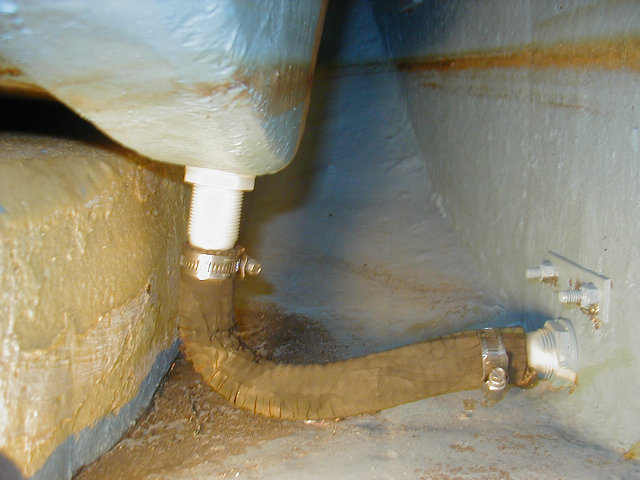 Here's a shot of the hose before I started working on it. It wasn't leaking, in fact it still had water in it. But is was very rotten You can see the water line too where the boat sat with water in it for a while That happened with the original owner. |
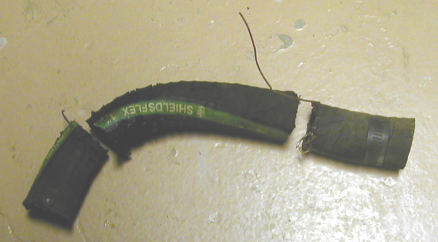 The
hose cut up and removed. The
hose cut up and removed. |
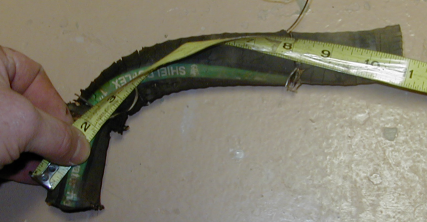 11
inches of new hose should do it. Actually it could be a little
shorter to fit better. Buy 11 inches and cut to fit. 11
inches of new hose should do it. Actually it could be a little
shorter to fit better. Buy 11 inches and cut to fit. |
 April
23, 2011
April
23, 2011
I started working on the chips in the gelcoat in the companionway. I put the first coat on this evening. Probably will require another coat, and then it will need to be painted. I can't get the gelcoat to match the original - its easier to just paint it.This is a pretty unsightly chip so getting it repaired should be a big improvement.
I also had a shot at putting the new hose for the cockpit drain in (see above). The fitting coming down from the cockpit is too long and the hose would have to bend too sharply in order for it to go in. So, I have the fitting out, to see if I can find a shorter one. Either that, or I have to get a more flexible hose. Nuts- I had hoped this would be done today.
April 25, 2011
 I put another coat of gelcoat on the blemishes yesterday. Took the the waxed paper off and sanded today.
I'm geting close to being able to paint. Then I can put on the companionway rails.
I put another coat of gelcoat on the blemishes yesterday. Took the the waxed paper off and sanded today.
I'm geting close to being able to paint. Then I can put on the companionway rails.
I've also been trying to figure out the best arrangement for the cockpit drain (see above). The fitting coming down from the cockpit is really too long. It causes the hose to kink when its bent hard enough to make up to the fittings. The original hose was a radiator hose with a spring in it to keep it from colapsing. It worked OK I guess but I thought getting this plastic hose would be better. It turns out, it is not the way to go.
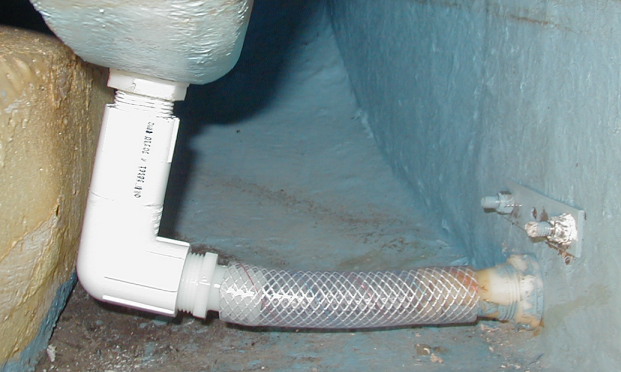
May 2, 20011
This cockpit drain hose replacement turned out to be quite a project. The hose I got is too stiff to bend enough to make up on the fittings so I got some PVC fittings and made an elbow. Now the space between the fittings is too short. So I have to take the transom fitting out and slide it back onto the hose. What a project! This is not the way to replace this hose! Buy a radiator hose with a suction spring in it like the one that was on there before. Save yourself a lot of work!
|
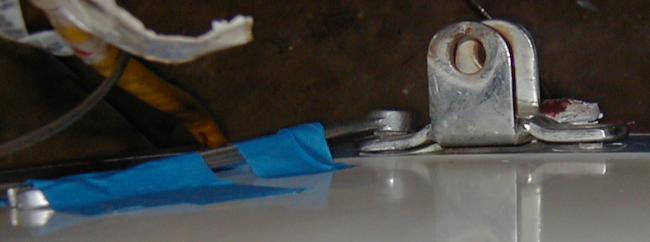
| Here's how you hold the wrench on the bolt outside the boat while you crawl into the space under the cockpit to remove the nut. I had to remove the rudder gudeon so that I could remove the hose fitting in the stern so that I could put the hose on. |
|
| Here's the hose in place with the hose fitting back in the stern. There's just one problem. Where are the hose clamps?! So now I have to put the hose clamps on way back in this space (this is not an easy place to get to). |